


Upcycling Fashion - using CitraSolv!
Our many thanks to the multi-talented Jana Lamberti, who took so much time out of her busy schedule to write down the steps for using Citra Solv to Upcycle. Have fun, and please send us photos of your creations!
Upcycling is the practice of taking something wasteful and turning it into a more attractive and useful item.
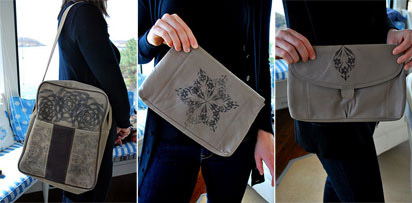
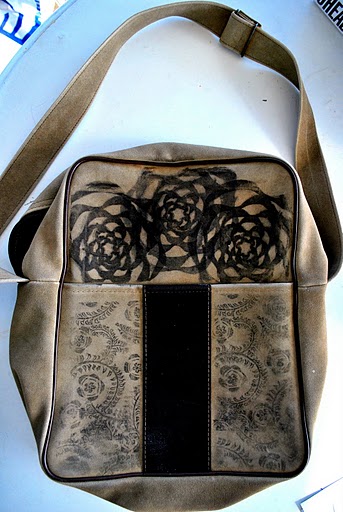
I used two bags I found at the local Salvation Army store for this upcycling project. These bags are not "wasteful" rather they fall under the latter portion of the definition of upcycling - they just needed an update!
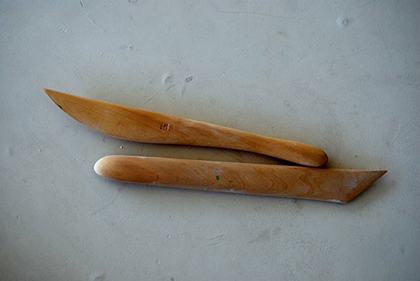
Materials needed: Fashion Item, Printer, Images, Wood Tool or Bone Tool, CitraSolv Concentrate, Tissues
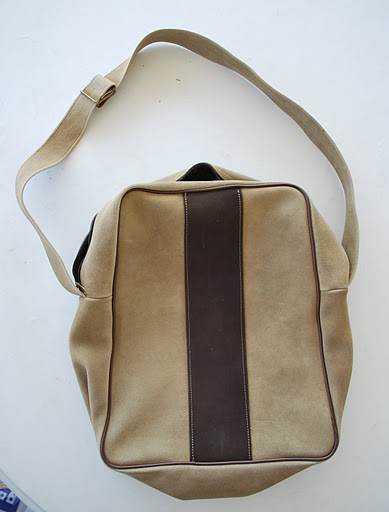
1. CHOOSING A FABRIC/ITEM - Choose a fabric that will absorb ink. Canvas, synthetic fibers, even leather will all work. Belts, shirts, pants, shoes, the sky is the limit...I choose a faux suede old mail-mans bag and a faux leather clutch. Caution against using bags or belts with a "puffy" cotton liner - the less "puffy" the better as fabric needs to be laid flat for best results.
2. IMAGES/PRINTING - Gather your images, get ready to print and apply transfer. Photos (black & white work best), patterns, flowers, etc. Whatever you choose as your image(s) - make sure you print them using a laser printer. I print all my images on an HP Laser Jet 5. It works wonderfully. Laser printers print ink on the top of paper - as apposed to other printers which print ink within the fibers of paper. Also, keep in mind the transferred image is a reversal of your original image - be aware of this especially if you are looking to transfer text. You will need to flip your image in photoshop before transferring it. Also, be aware that if you are taking an image from the Internet you will need to change the design in some way due to copyright laws.
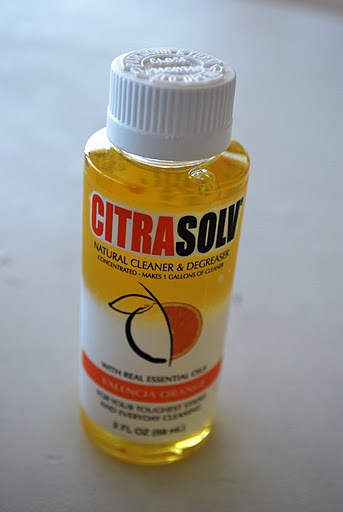
3. CITRASOLV - Applying CitraSolv Concentrate (full strength) with a tissues - when applying citrasolv to the back of your images - you must NOT apply too much. DO NOT saturate the back of your images. Apply a light coat of CitraSolv to a tissue - then to the back of your image but only just enough to see the image come through the paper - then, to get a more clean transfer you can use a wood tool or bone tool (anything with a hard flat edge).
Step -by-Step Instructions
1. Lay item flat on table. Flatter the item (less wrinkles) - the better results. I put hard cover books in my bags before doing the transfer process.
2. Print your images and choose where you would like images/design to go on your item.

3. Flip image over - so ink side is against your item.
4. Optional - tape image down so it does not slip & slide on you.
5. Place small amount of CitraSolv concentrate onto a tissue.
6. Rub Citrasolv gently onto the back of image. Image will begin to appear through the paper.
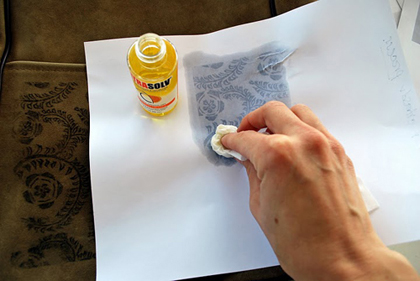
7. Rub a wood tool or stone tool against the back of the image covered in CitraSolv to create a cleaner more "finished" transfer. The "worn look" also looks good - to get this effect, do not press down as hard.
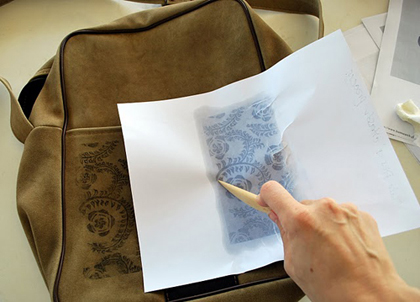
8. Keep one hand on top of image (or keep taped) - raise image to see if transfer is desired. If not, place image back down, and re-press on your image with wood/bone tool.
9. Take image off item....voila! Your image has been tranfered using the magical powers of CitraSolv!
For further information:
http://www.naturallysavvy.com/naturally-green-faq/
http://www.ecosalon.com/green_your_junk
http://planetgreen.discovery.com/work-connec/